It’s always a challenge to tell a story with multiple photos in a layout without looking cluttered. You want the story to be linear- start at point A and end at B- and you want to focus in on the fun details in-between- but what’s a good way to ensure a pleasing flow?
Well- Erin Taylor nailed it with this layout!
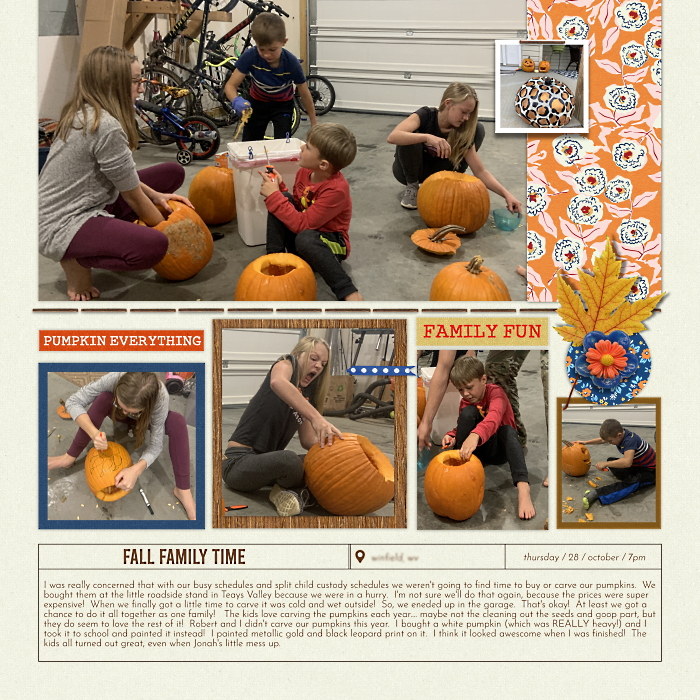
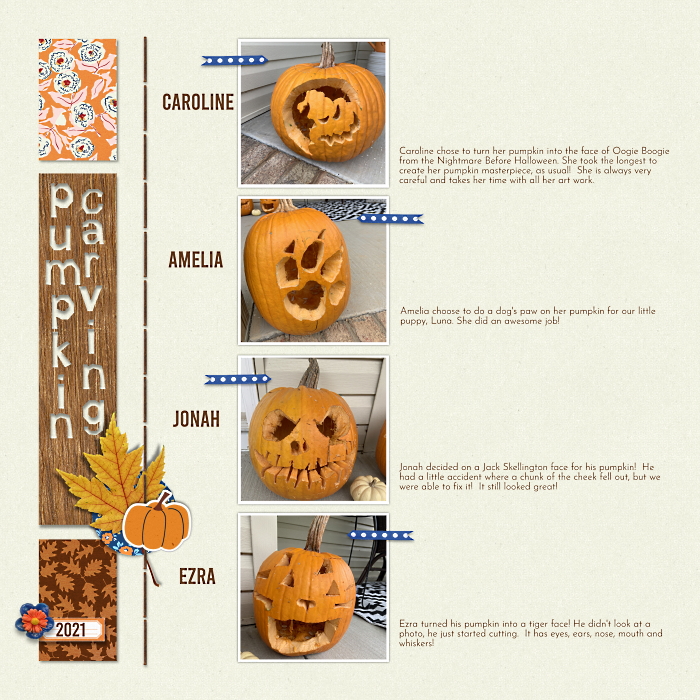
The large photo gives perfect context- it’s not cropped- it shows the real life setting of her story- garbage can and all! Then, she gets a shot of each kiddo alone with their pumpkin- and finally presents each pumpkin on its own page labeled with its artist and a few fun details!
She told her story in a fun newsletter style and used her elements as supports of her story as opposed to plain decoration. It’s a spot-on who-what-when-where-why formula that ensures the day is captured in image as well as vibe- and it all pulls together seamlessly!


The Formula:
- Take a wide set up shot of the where the activity is happening. Don’t crop in too closely- show the real life setting. You may want to set up for a before and after photo series. (The Christmas tree Before Decorations- The Tree After its Decorated; The ingredients for a pie on the counter- the finished pie After.) Including all the participants getting ready to start in your set up shots is very effective- capture their anticipation, excitement, planning)
- Focus a shot on each of the participants alone during the activity.
- Take a wrap of shot of the day. What was the result? Pumpkins carved? Decorations placed? Apples picked? Cookies baked. Take close up shots of the results.
Pro Tip: Use your journaling to give depth to the story- especially why this is a moment you wanted to press pause on. Sharing a bit of your heart here adds you into the layout- even without a single photo of you being taken!
