Hi Everyone! Hoping you are all doing well! This is Jenn, aka jk703, and I’m here to bring you a super easy and fun tutorial to try out when playing with Renne’s gorgeous designs!
Today we are going to stretch out that stash that you have, and give you some flexibility on using word art! I’m using the word art from Rise and Shine today. Here is the original look of the word art:

Using the Magic Wand Tool, I clicked on the inside of the letters. I also had to remember to click on the dot of the lowercase letter I. You will then have all the ants marching around on the inside of the letters.


Next, in your Layers Palette, you will want to create a new layer above the word art. To add a new layer, you simply press the small square with the tiny corner folded in – it sort of looks like a Post It Note to me. This will create a layer below the selected one in the Layers Palette. If you press Shift at the same time as you click on the new Layer Square, it will add the new layer above the selected one. Here is my current Layers Palette:
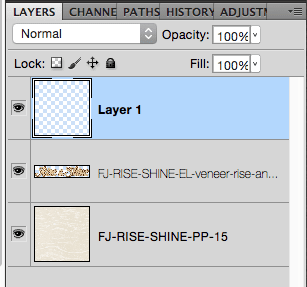
You want to have your new layer selected. Now, with the marching ants still marching, you will press Command + Backspace. this will fill in the marching ants with the Background Color on your new layer. It will now be a filled in shape of the word. Like this:

Now, the fun and easy part… Bring in a paper above the filled word. Right click on the paper and choose Create Clipping Mask. It will clip to the inner shape, like this:
Chevron:

Flowered:

Polka Dotted:

You can also use this technique with the cork word art! It might be a little more work in the selections, but it looks great!
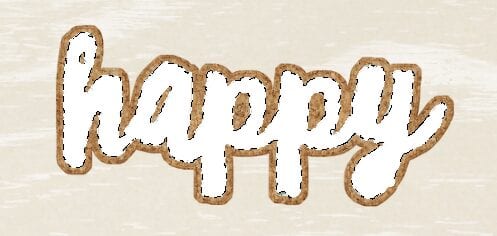
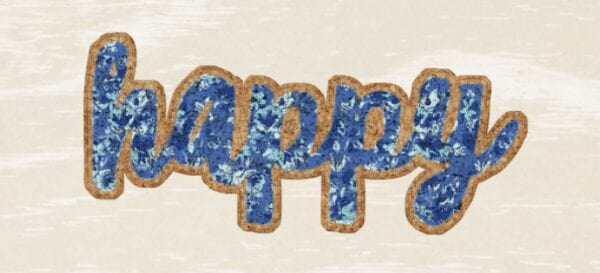
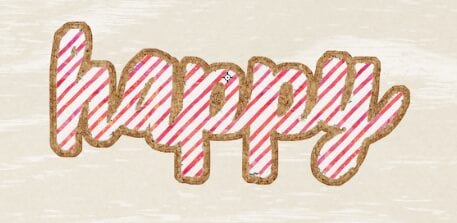
Super easy, and you could use words from different kits and combine them with other papers to give them more versatility! Fun, Right!?
Can’t wait to see what you create!
Jenn Marione/jk703
